1-3
Service Gateway 部署
概要
本文說明如何在內部環境中部署 Trend Micro Vision One Service Gateway
防火牆需求
部署 Service Gateway 時,首先依照地區允許 Service Gateway 本身所需要的 URL 如下:
Deploy a Service Gateway and Configure Firewall Exceptions
根據該 Service Gateway 預計啟用哪些服務,針對有啟用的服務允許 URL 以下為臺灣地區客戶常使用的 Singapore
地區完整列表:
Firewall exceptions: Singapore - all exceptions
如您的站台地區設定有所不同,請在下列位置選擇您的地區並參考 all exceptions 的設定:
Firewall exception requirements for Trend Vision One
前置條件
- 從 Vision One 主控台下載的 Service Gateway 檔案 (.OVA)
- 能開啟 Open Virtual Appliance (.OVA) 檔案的虛擬機管理程式(Hypervisor),例如:VMware vSphere
- 與將部署 Service Gateway 的機器在同一網路上的機器
- 用於遠端 SSH 連接 Service Gateway 的用戶端程式,例如:Putty (便於複製貼上 token)
VMware 部署指南
-
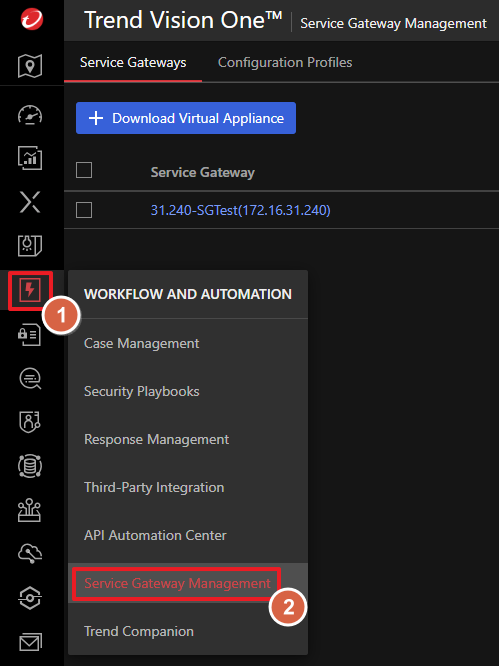
登入 Vision One 主控台,移動到 Workflow and Automation > Service Gateway Management
-
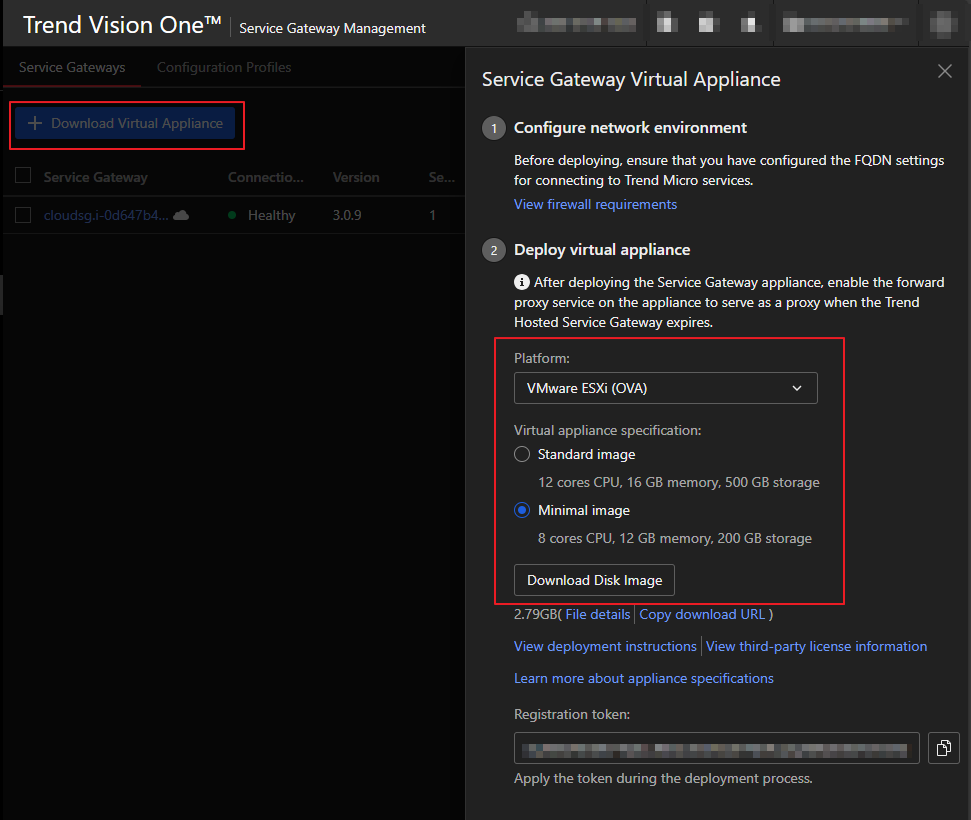
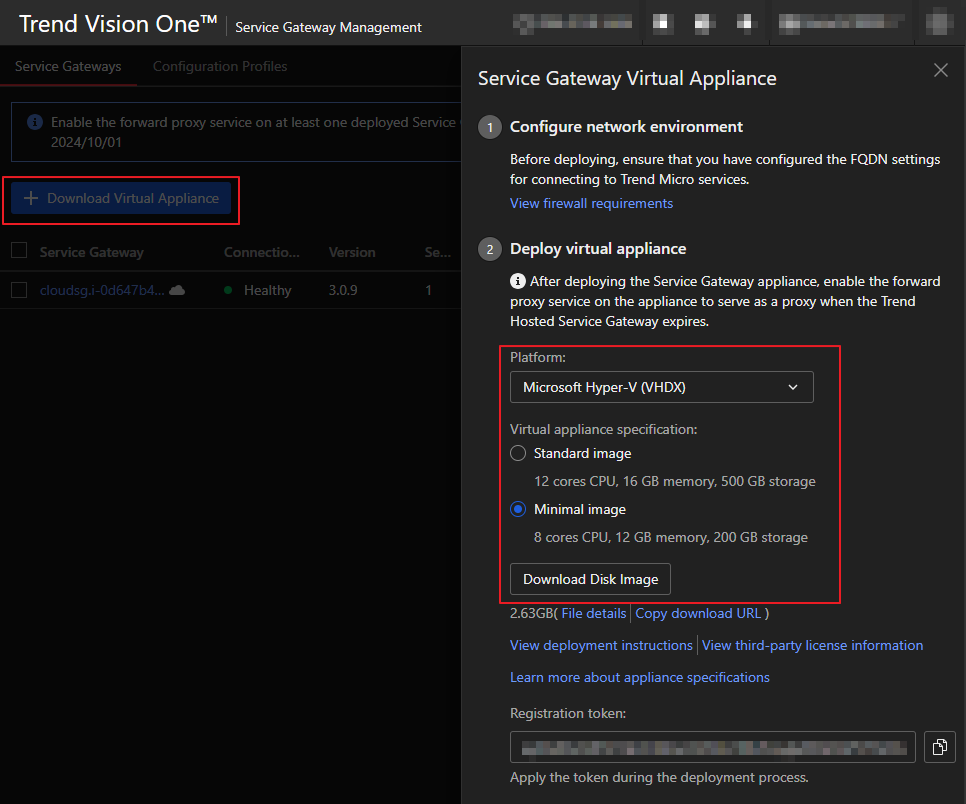
點擊 Download Virtual Appliance 按鈕,選擇 VMware ESXi (OVA) 並選擇規格然後點擊
Download Disk Image
-
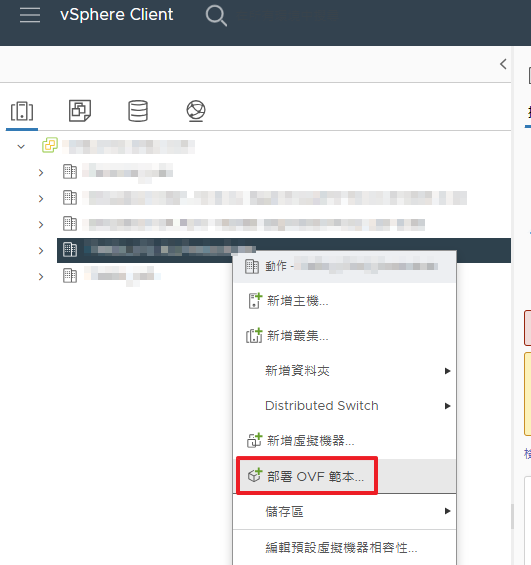
打開虛擬機管理程式(Hypervisor ,本範例使用:VMware vSphere)點擊 部署 OVF 範本
-
選擇 本機檔案 > 上傳檔案 選擇下載的 OVA 檔案,然後點擊 下一頁

-
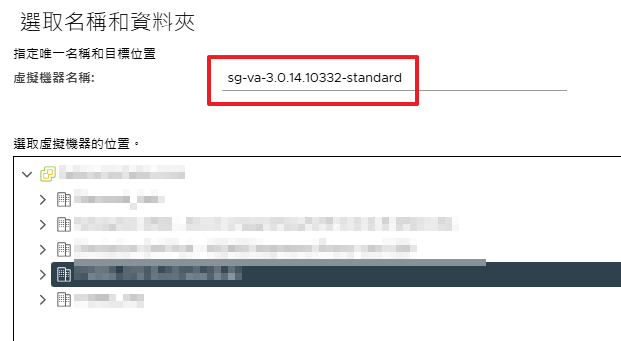
輸入 Service Gateway 的虛擬機器名稱並選擇其位置。點擊 下一頁
-
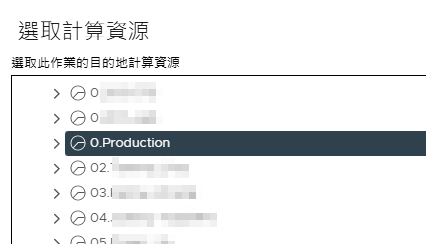
選擇可用的 計算資源 ,然後點擊 下一頁
-
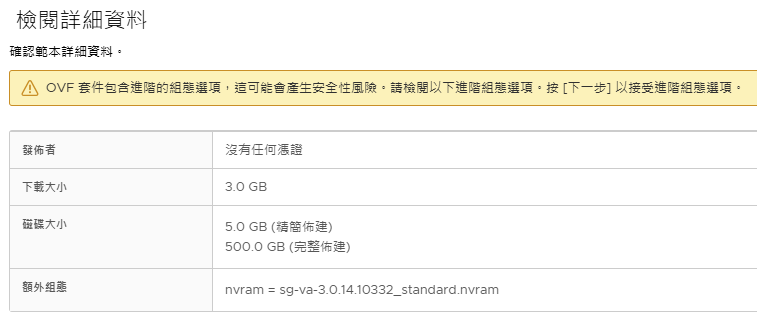
檢閱詳細資料 ,然後點擊 下一頁
-
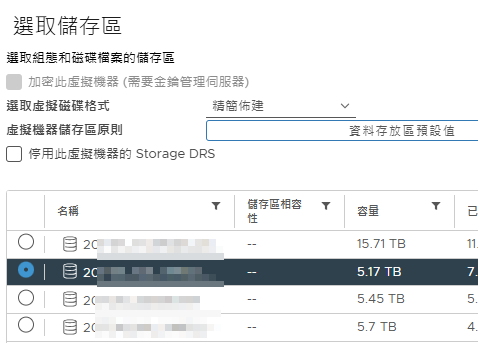
選取儲存區 然後點擊 下一頁
-
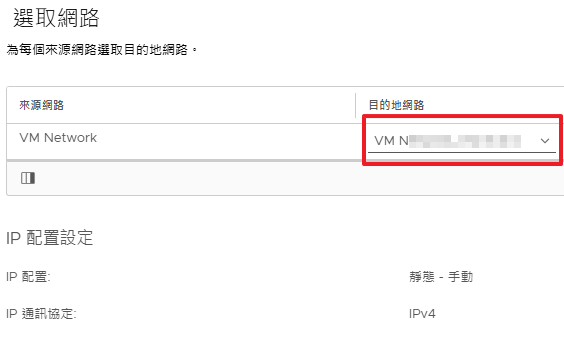
選擇要分配給 Service Gateway 的網路,然後點擊 下一頁
-
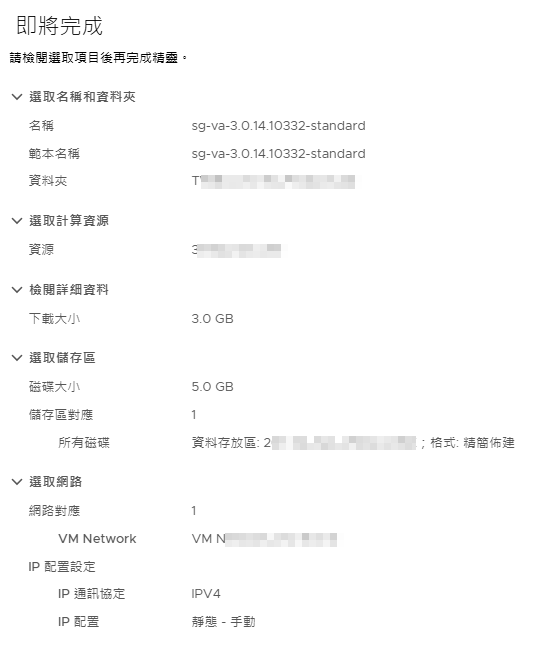
檢查設定是否正確,然後點擊 完成 以開始部署過程
-
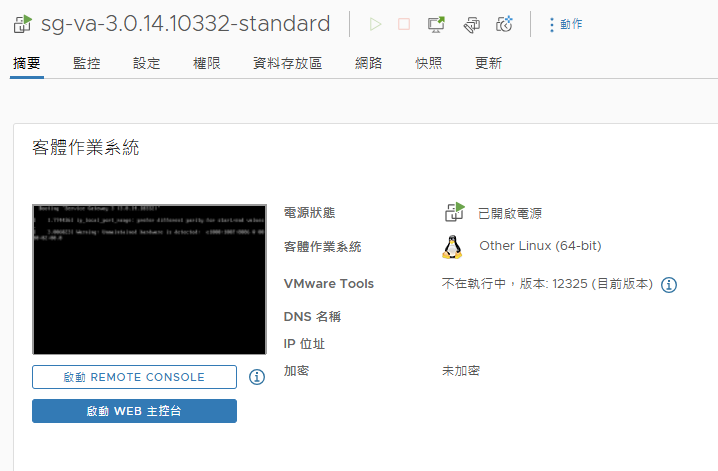
確認目標位置是否已建立與此圖相似的 Service Gateway 虛擬機器
Hyper-V 部署指南
-
登入 Vision One 主控台,移動到 Workflow and Automation > Service Gateway Management
-
點擊 Download Virtual Appliance 按鈕,選擇 Microsoft Hyper-V (VHDX)
並選擇規格然後點擊 Download Disk Image
-
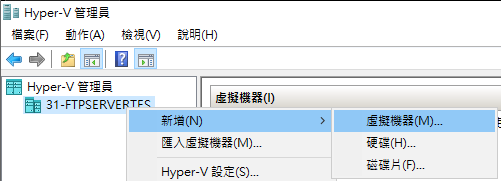
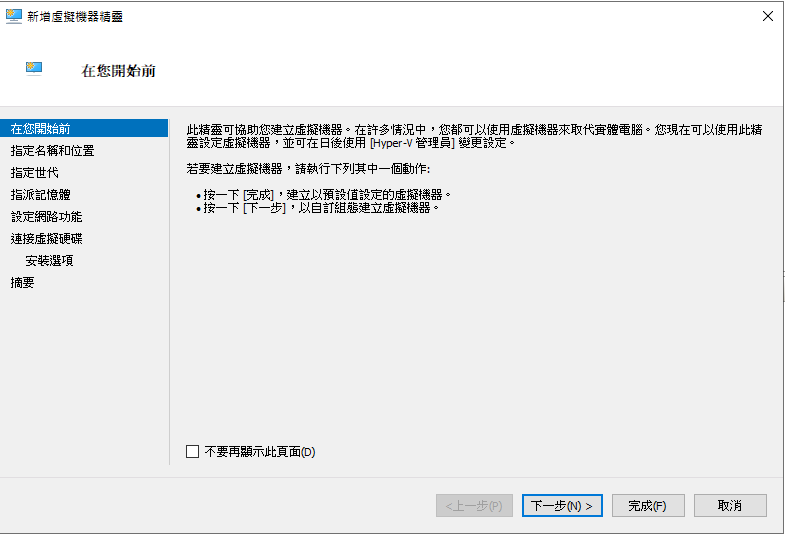
右鍵 Hyper-V 伺服器 > 新增 > 虛擬機器
-
點擊下一步
-
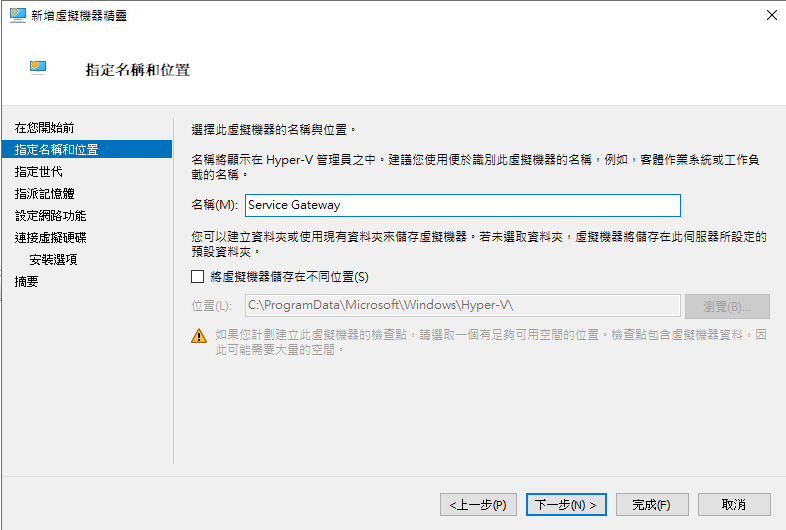
為建立的 Service Gateway 命名
-
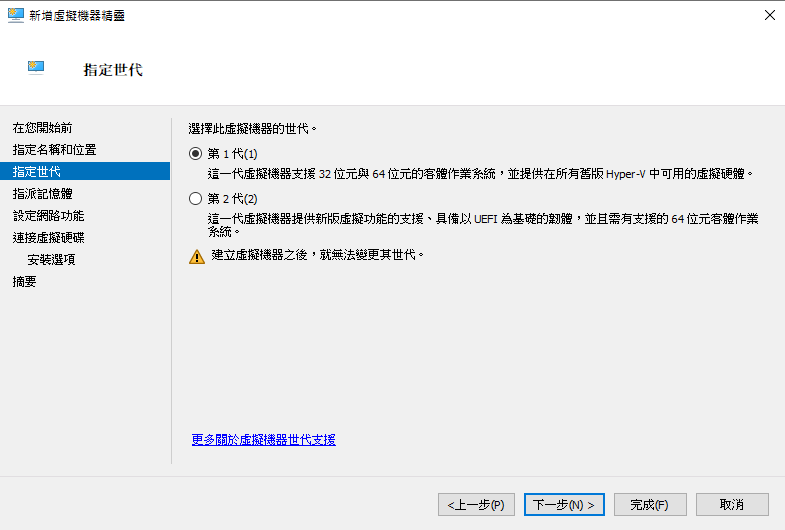
虛擬機器世代選擇第 1 代
-
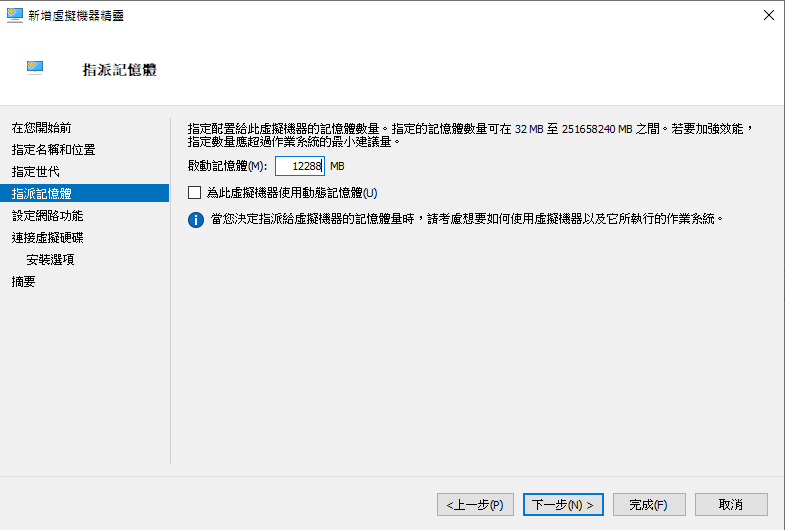
依照需要開啟的服務給予虛擬記憶體
-
選擇 Service Gateway 要連線的網路位置
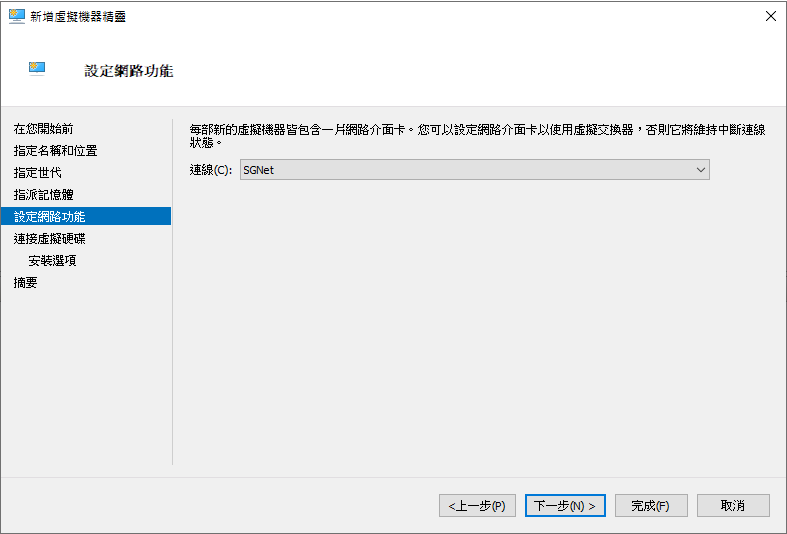
-
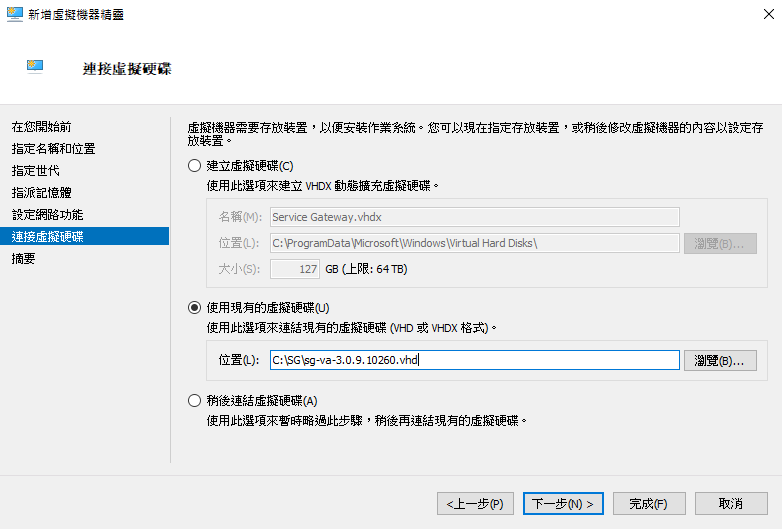
使用現有的虛擬硬碟並選擇下載的 Service Gateway
Note
需先將 ZIP 檔案解壓縮取得 VHDX 檔案
-
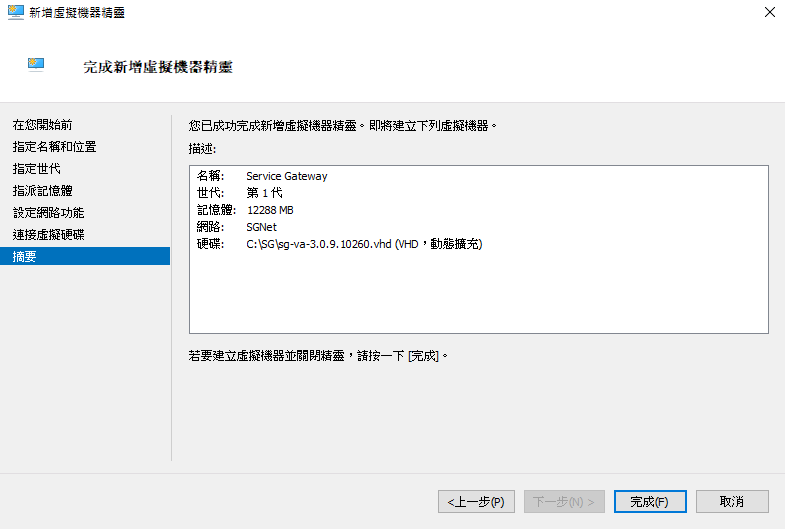
確認虛擬機器設定並點擊完成
-
在建立的虛擬機器右鍵 > 設定
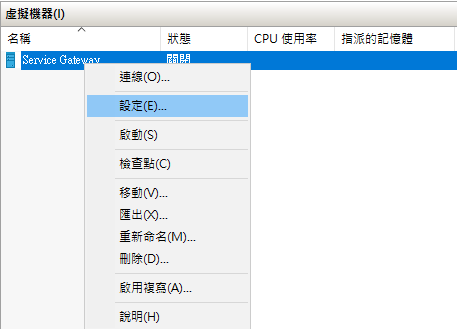
-
將虛擬處理器數目依照需求調整
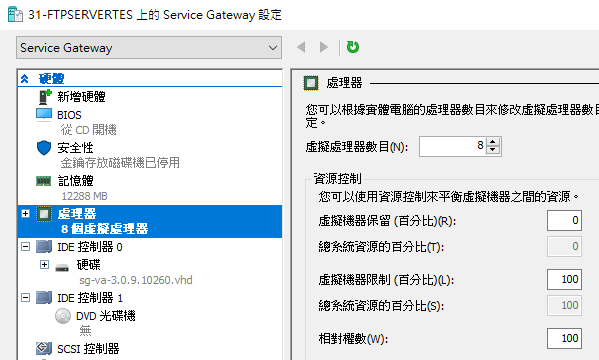
-
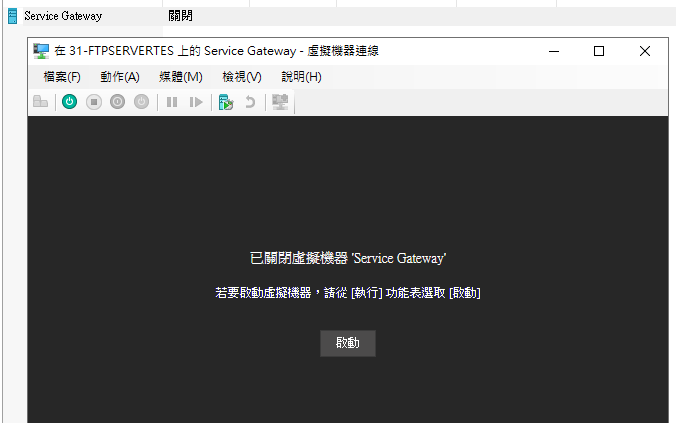
設定完成後連線並啟動該虛擬機器
設定 Service Gateway 並註冊到 Vision One
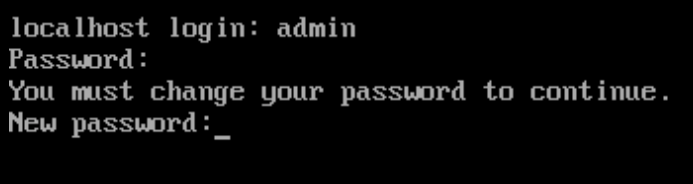
- 直接存取 Service Gateway,並使用預設的帳號和密碼:
帳號: admin
密碼(預設): V1SG@2021

Note
成功登入 CLI 主控台後,請立即更改密碼。
-
輸入 Enable 以進入管理模式,然後依照下列步驟註冊:
使用以下指令來設定主要 IPv4 靜態地址:
configure network primary ipv4.static <介面名稱> <CIDR 格式的 IP 地址> <閘道> <DNS>
例如:configure network primary ipv4.static eth0 123.456.789.111/24 123.123.123.123 222.222.222.222

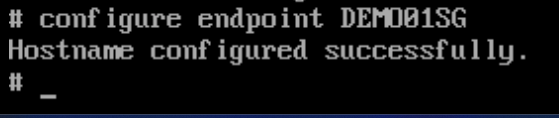
Note
可以透過下列指令自訂 Service Gateway 的 hostname
configure endpoint <hostname>
-
建議在註冊前先設定 Network Time Protocol (NTP) 伺服器,以避免時間與網際網路時間差距過大而註冊失敗。
使用以下指令來設定 NTP 伺服器:
configure ntp <ntp_addr1> [ntp_addr2] [ntp_addr3] [ntp_addr4] [ntp_addr5]

-
從 Service Gateway Management 頁面複製 Registration token
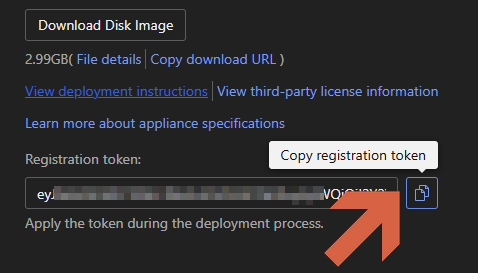
-
為了便於複製貼上 Registration token 透過 SSH Shell 登入 Service Gateway 並使用修改後的帳號密碼

-
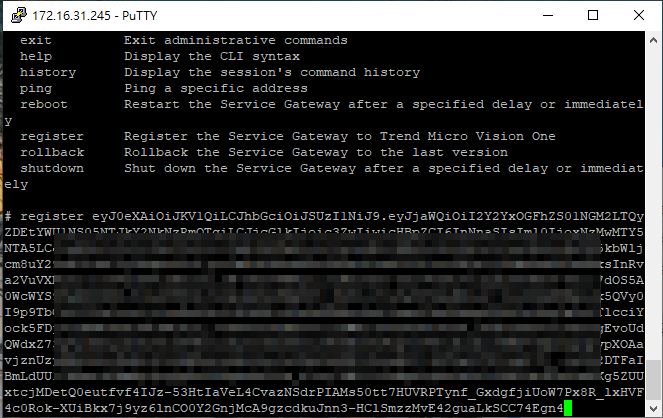
輸入 enable 再輸入 register <Registration Token> 將 Service Gateway 註冊到
Vision One
-
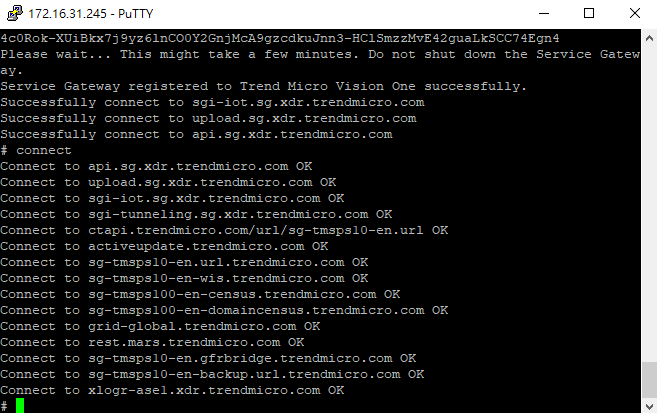
完成設定後,輸入 connect 驗證是否正確地連線到 Vision One
-
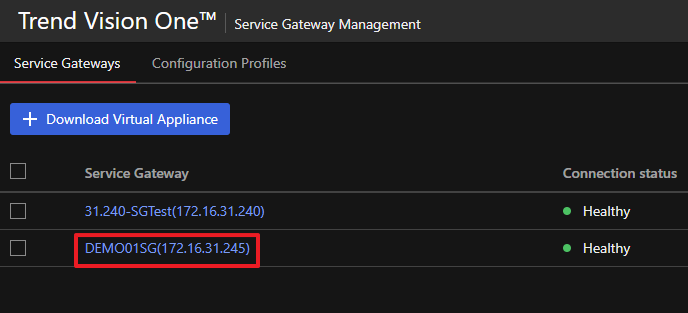
回到 Vision One 主控台並檢查 Service Gateway 的狀態
如需 Service Gateway 指令列表,請參考: Service Gateway CLI Commands