帳號異常管理實務
資料連結設定
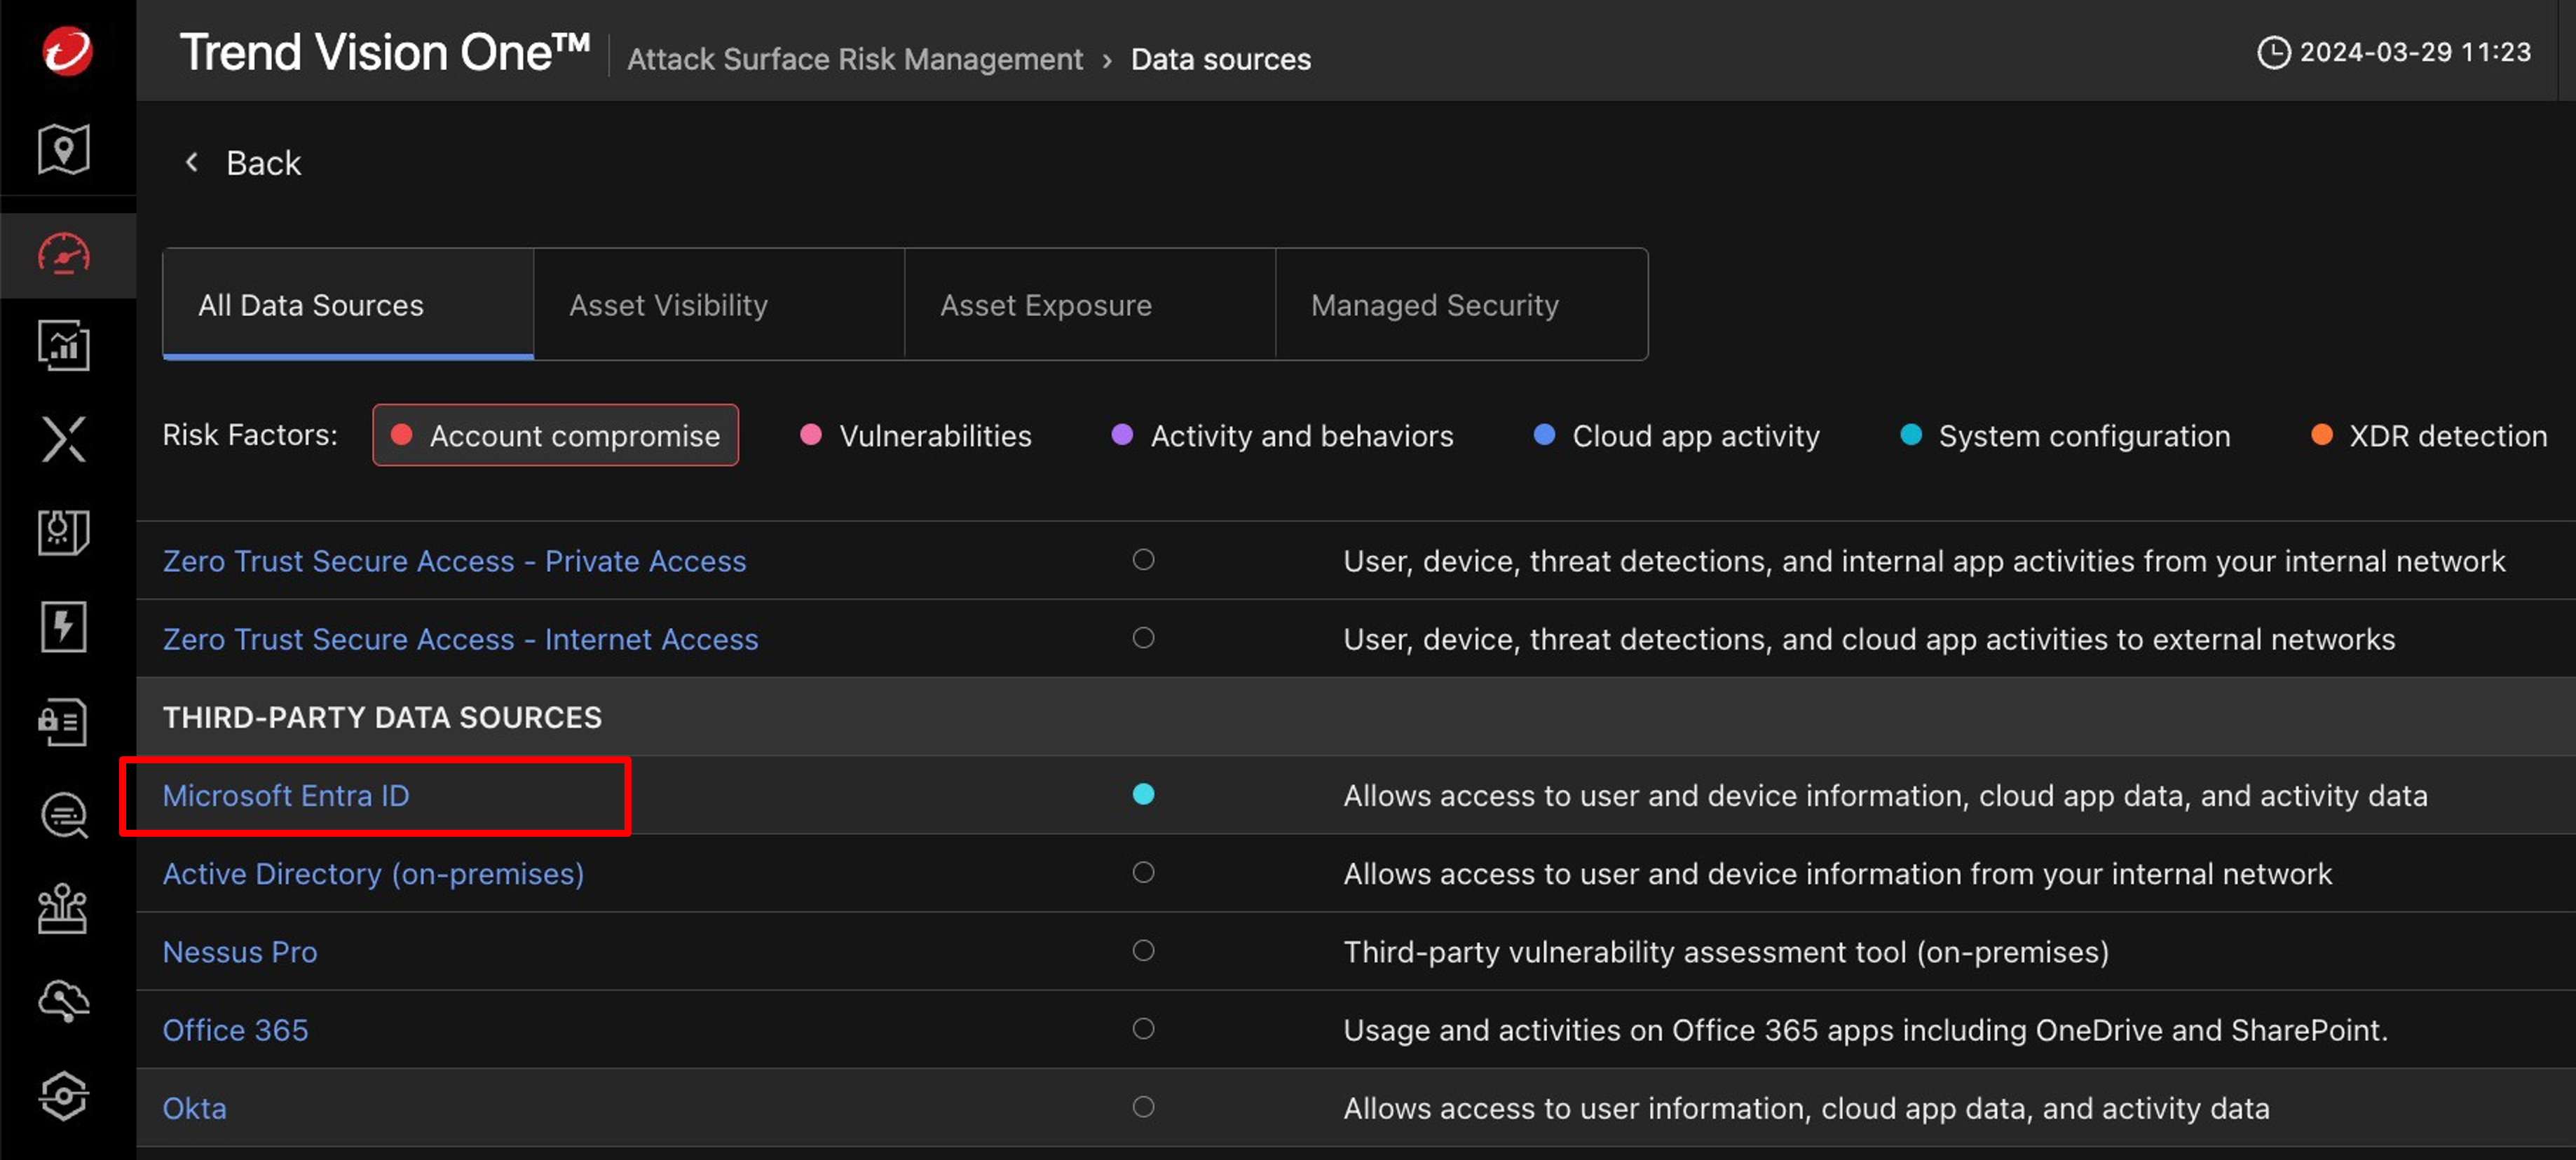
以 Microsoft Entra ID 為例
首先在 Attack Surface Risk Management > Attack Surface Discovery 點擊
Data sources

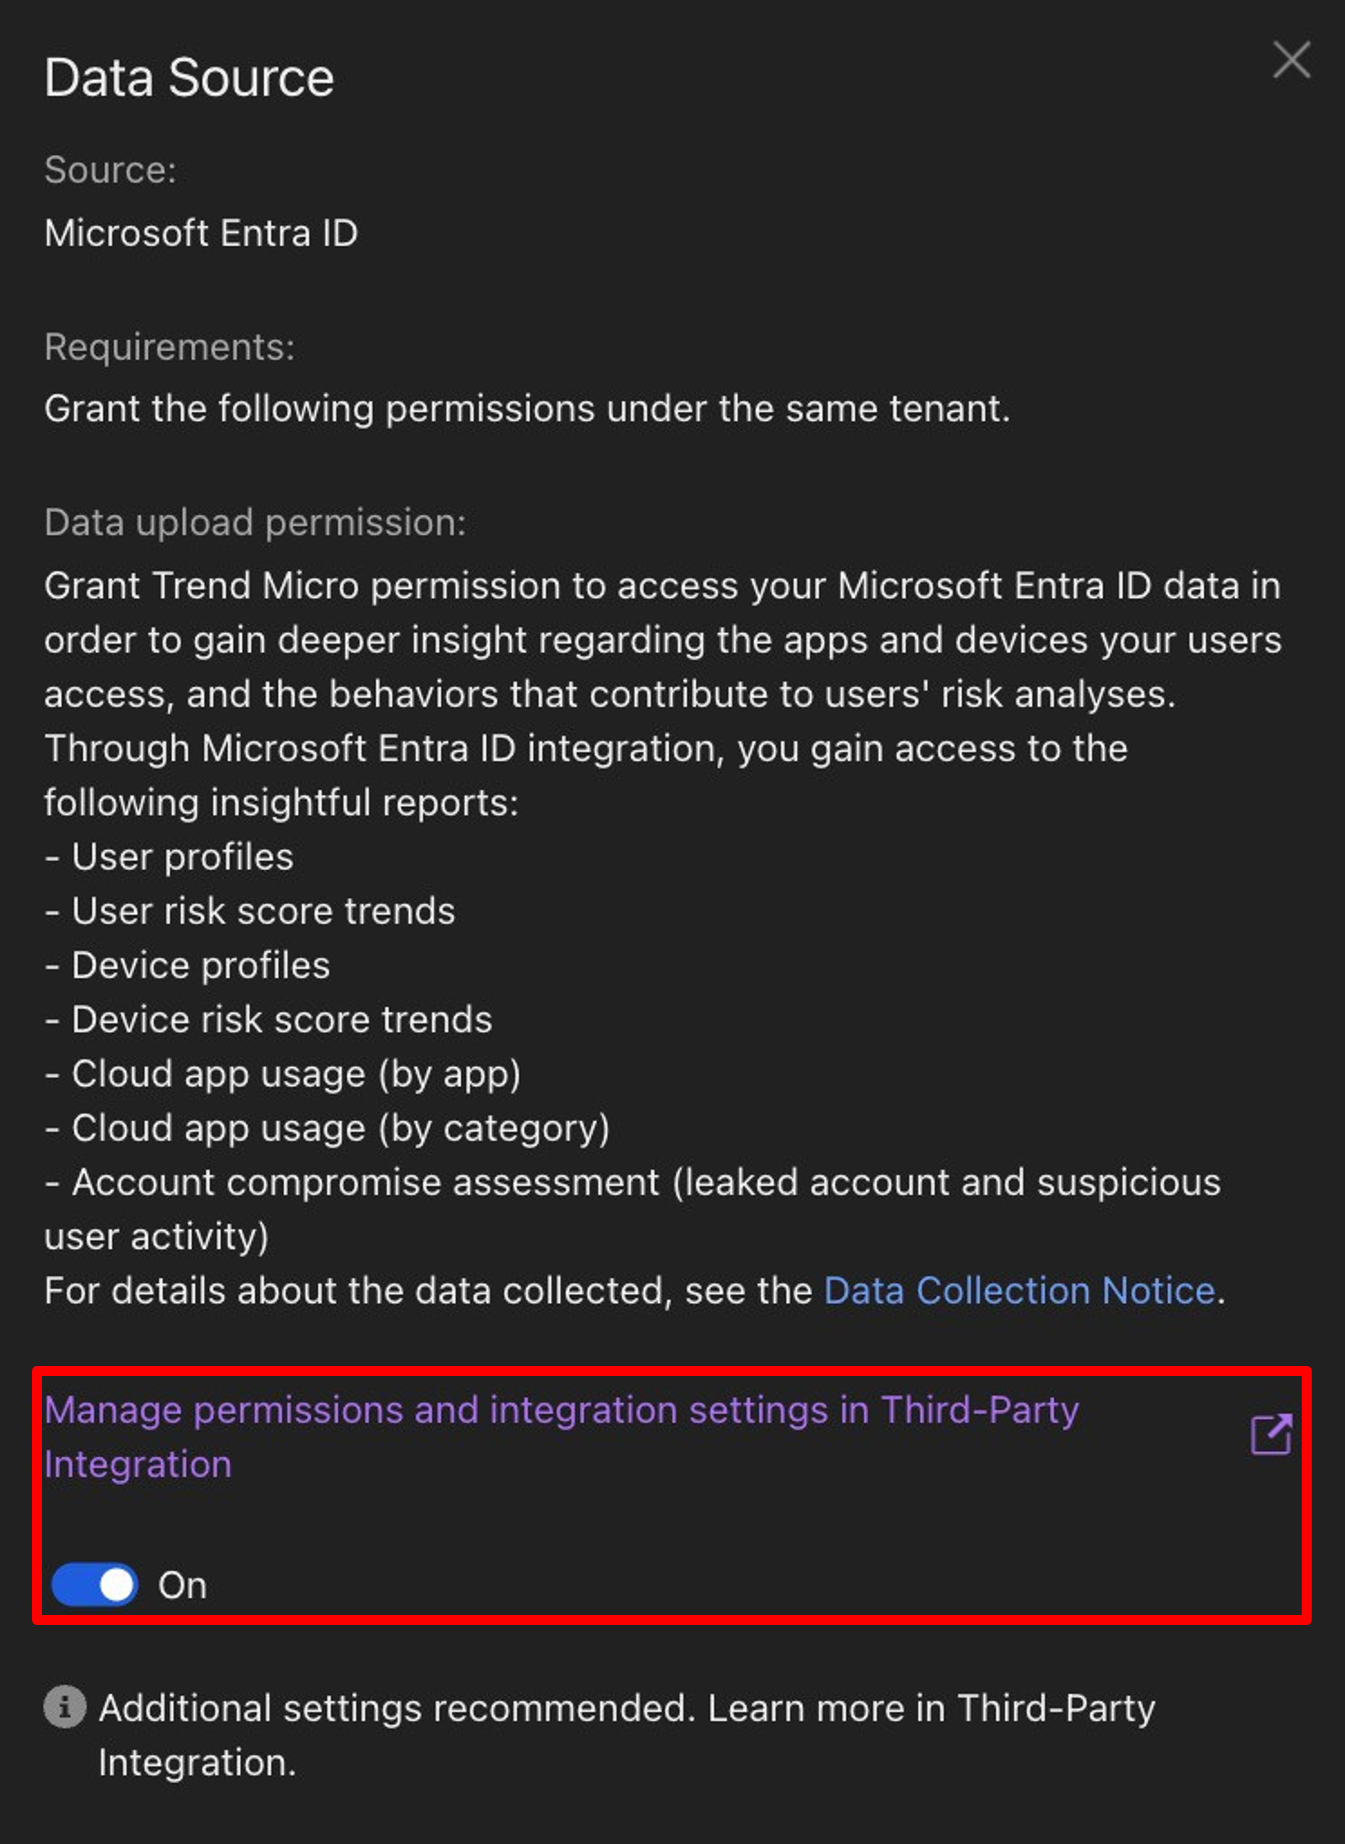
點擊 Microsoft Entra ID
點擊 Manage permissions and integration settings in Third-Party Integration
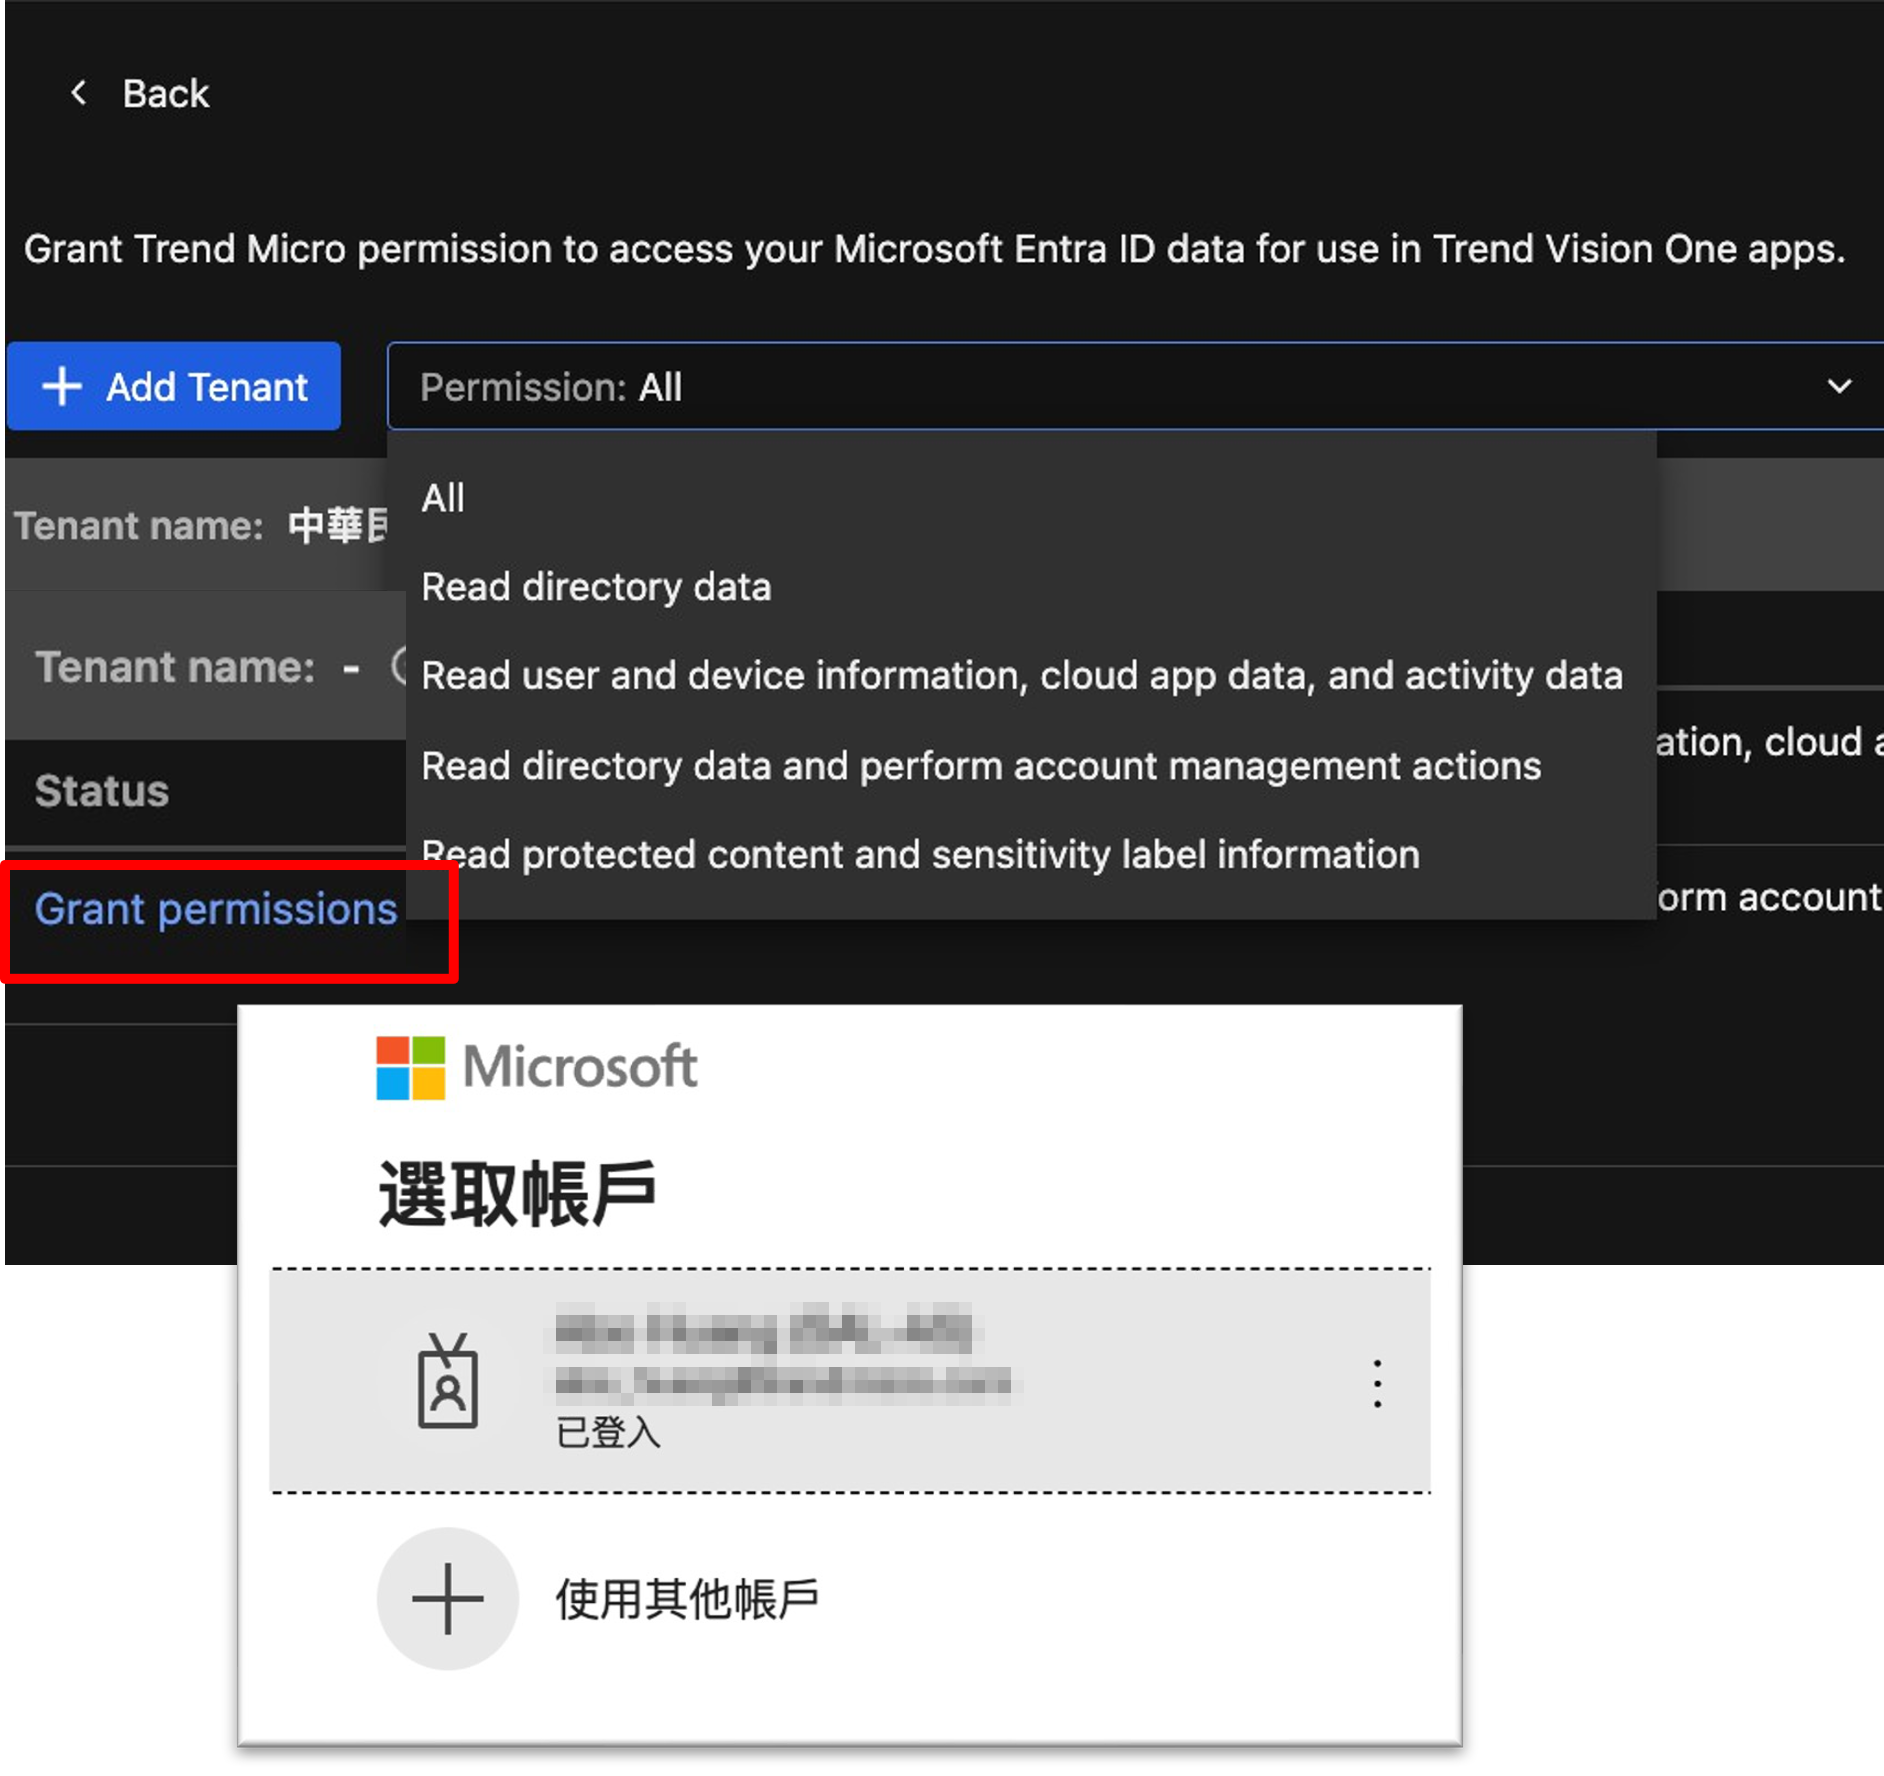
點擊 Grant permissions 並登入取得權限
帳號異常登入
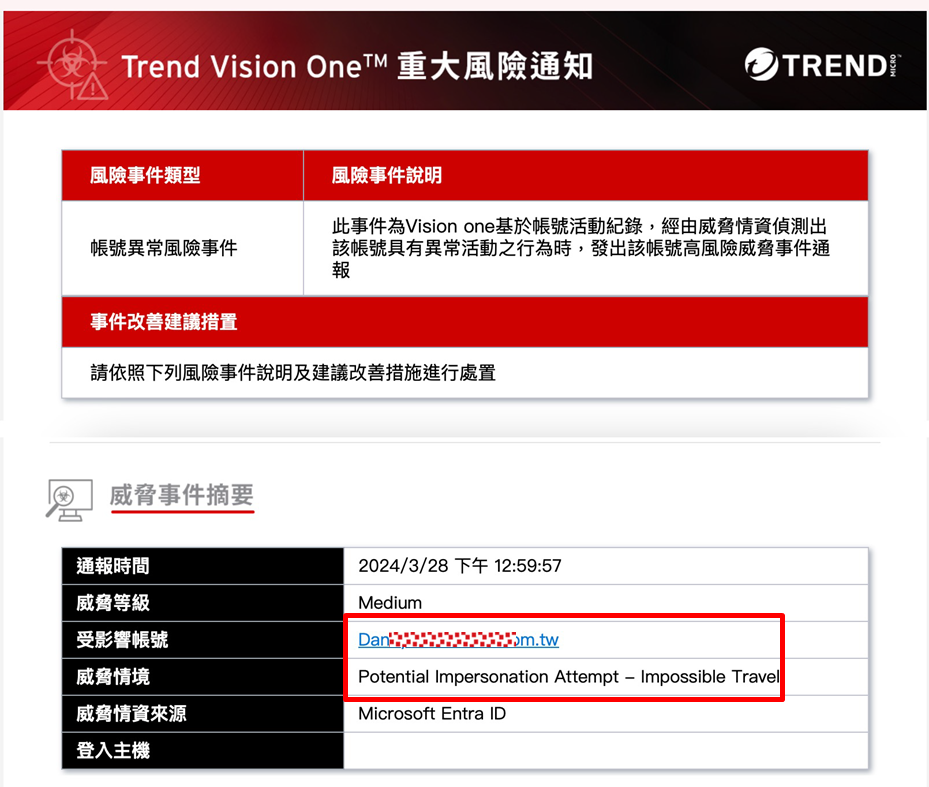
Attack Surface Risk Management 偵測到資安事件立即發送通報到管理者信箱
Note
需先開通 Attack Surface Risk Management 高風險服務通報
在 Attack Surface Risk Management > Operations Dashboard 點擊 Account
compromise
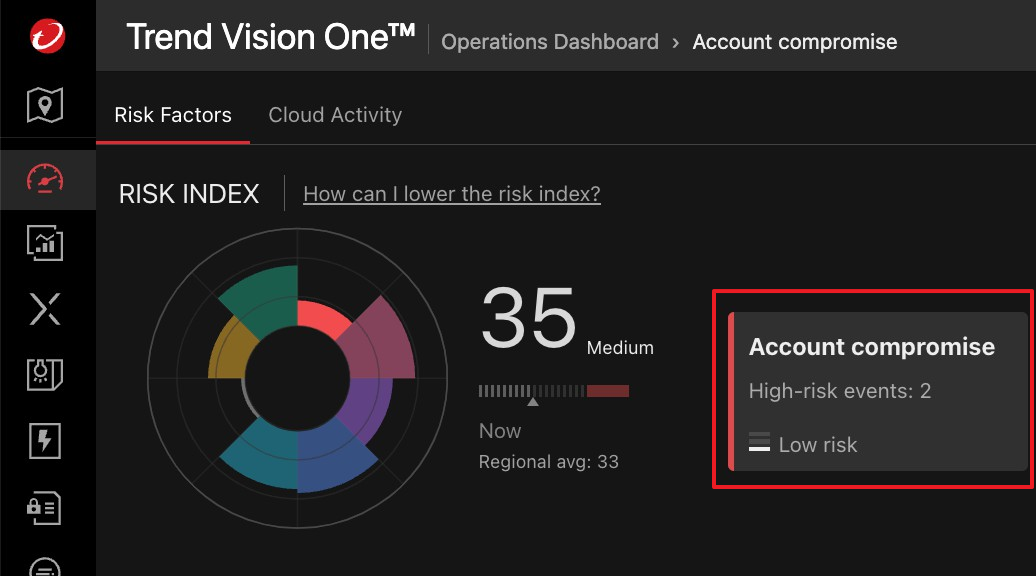
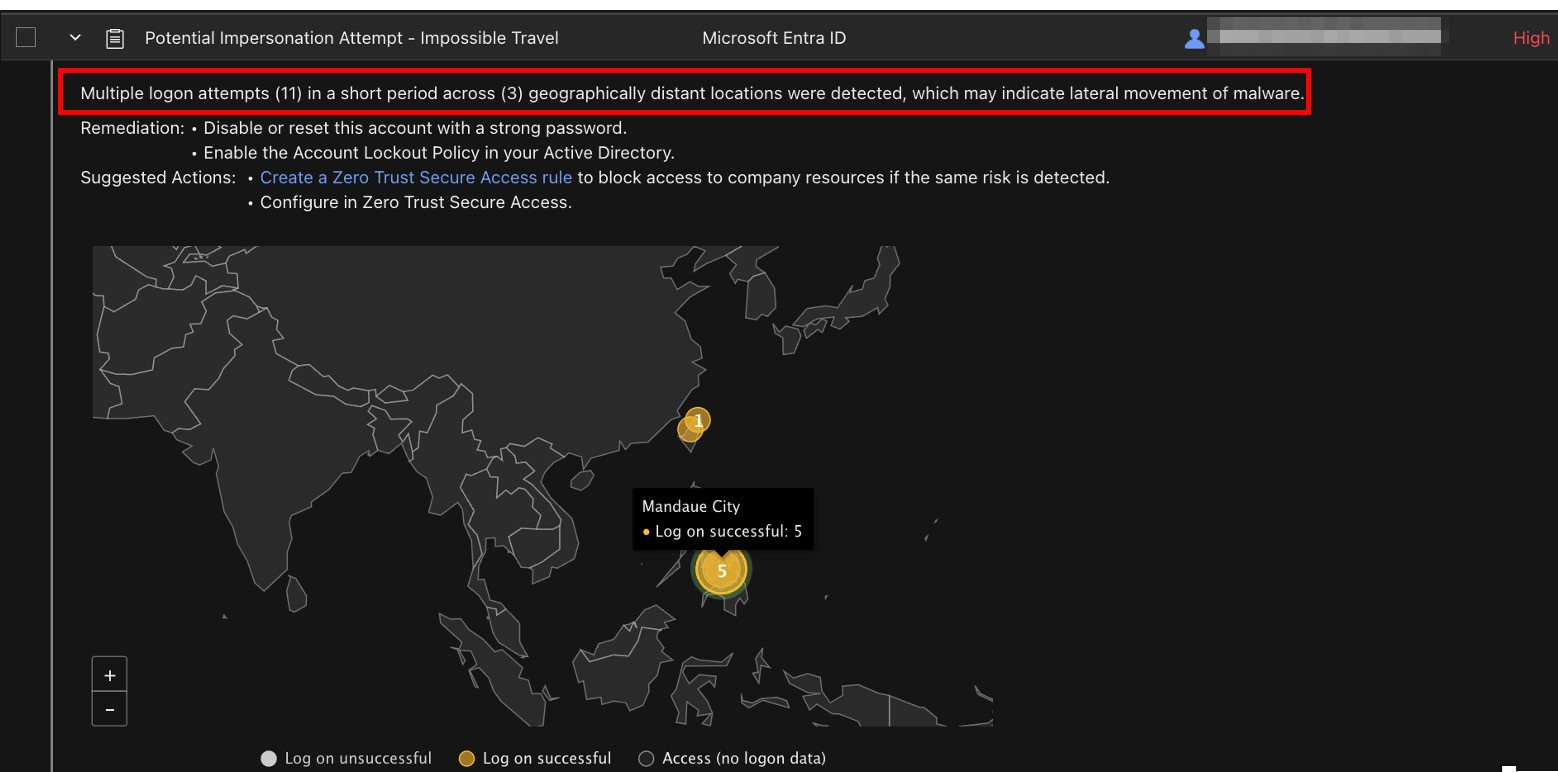
於下方 Account Compromise Indicators 找到通報中對應的事件

展開可檢視詳細資訊,該帳號於短時間內於有一定距離且不同地理位置登入
如非使用者本人操作則應暫時鎖定並重設該帳號密碼
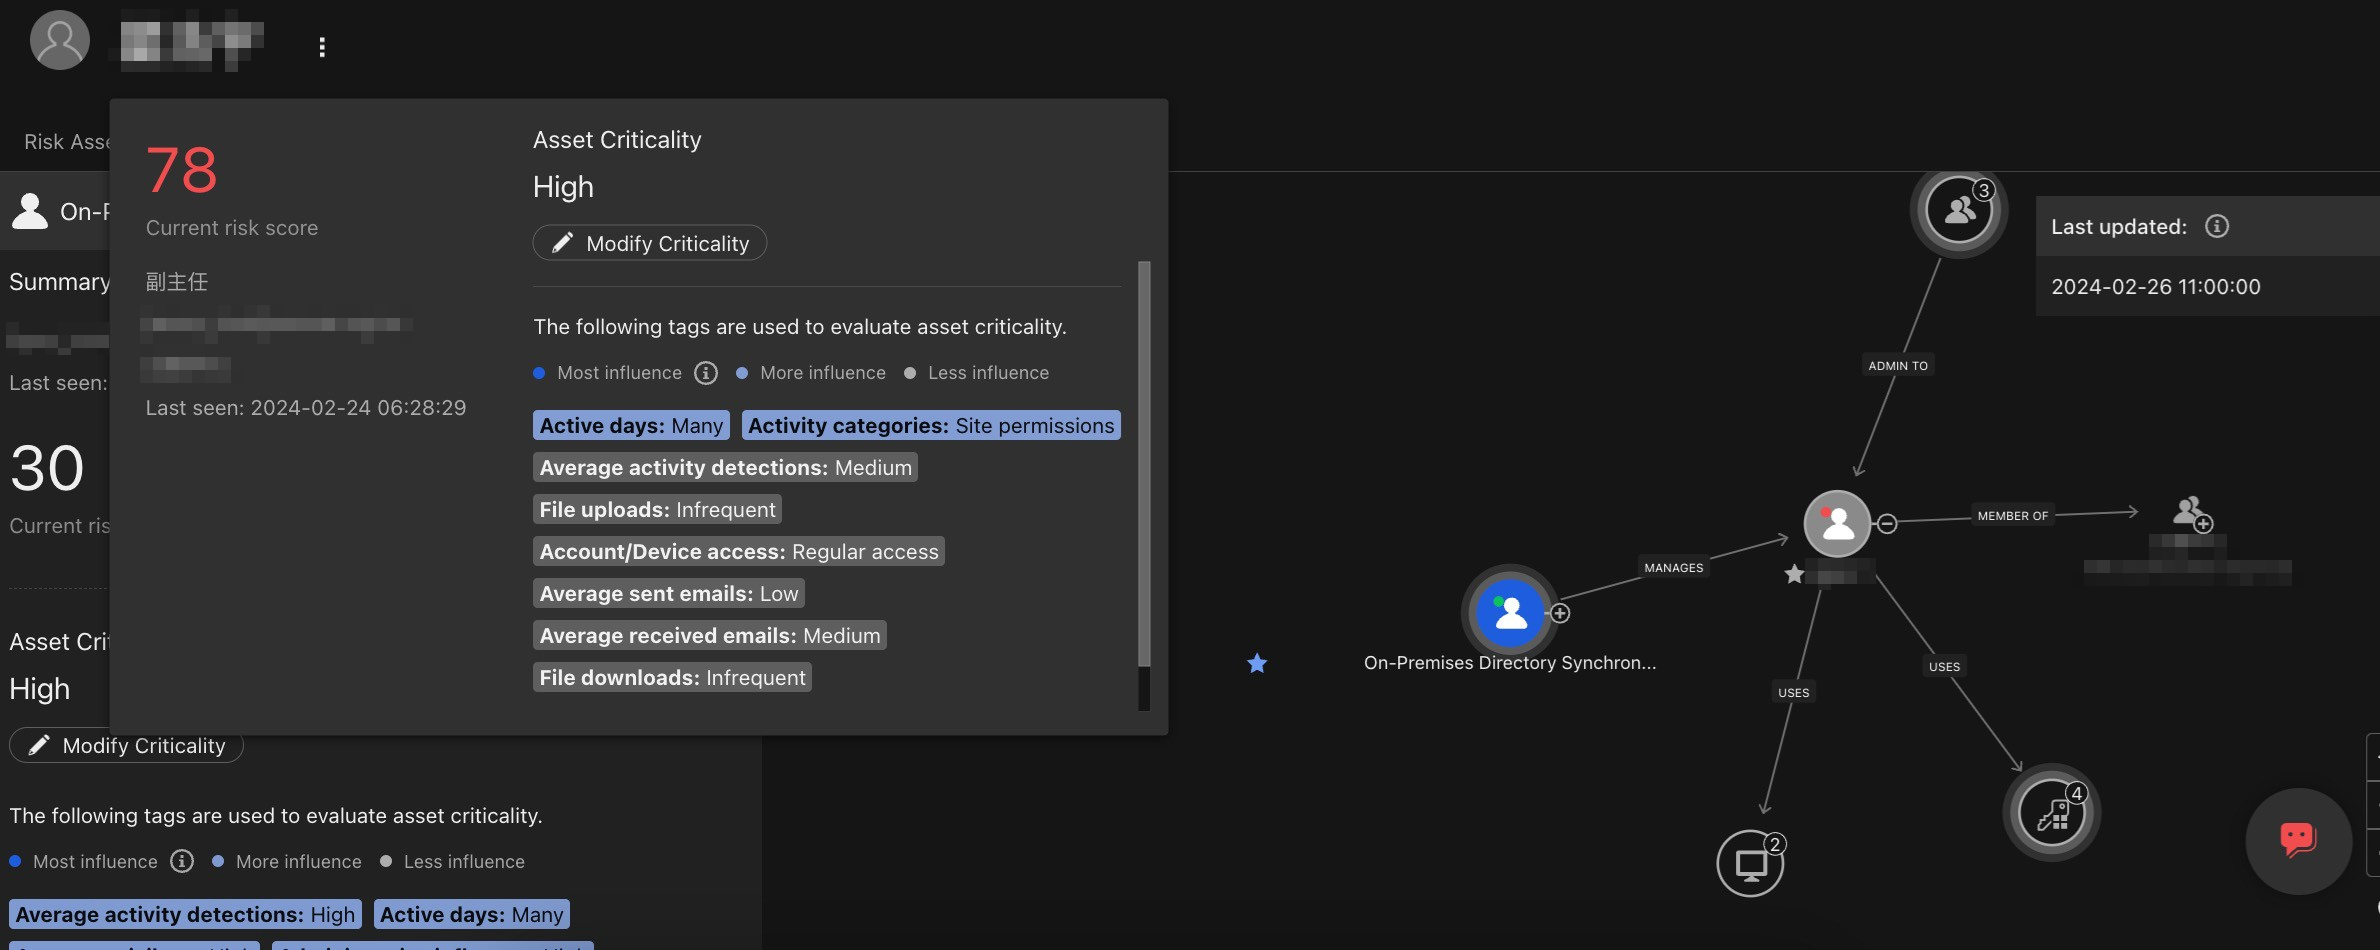
風險分數會依照使用者帳號的 Asset Criticality 而有不同
Asset Criticality 越高則風險分數越高
Note
如果需要調整 Asset Criticality 可透過 Modify Criticality 手動設定
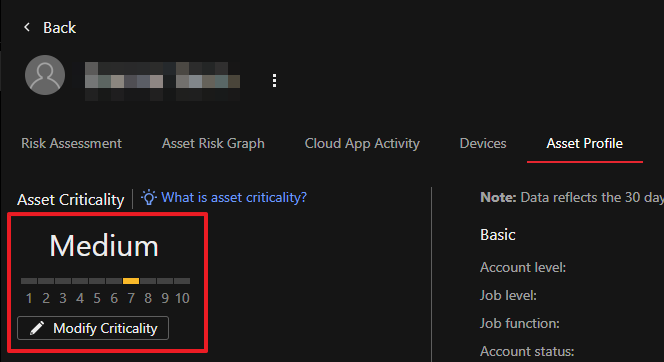
Asset Criticality 為 High (達到 8 或以上)會被標註 
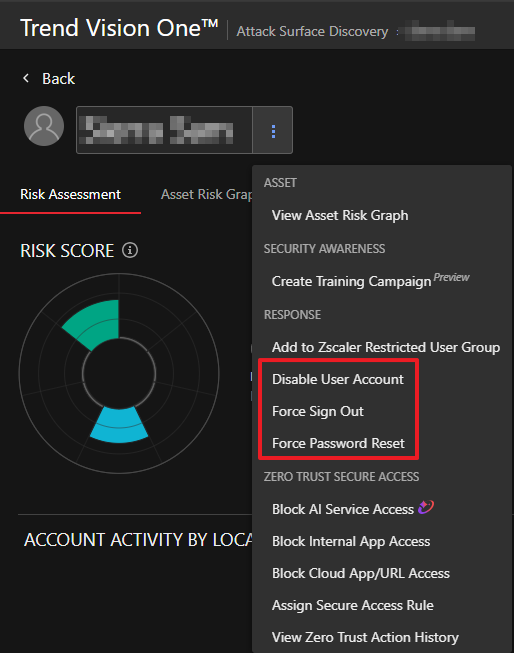
點擊使用者帳號右側的 可以選擇強制登出該使用者並重設密碼

帳號密碼外洩
Attack Surface Risk Management 偵測到資安事件立即發送通報到管理者信箱

在 Attack Surface Risk Management > Operations Dashboard 點擊 Account
compromise

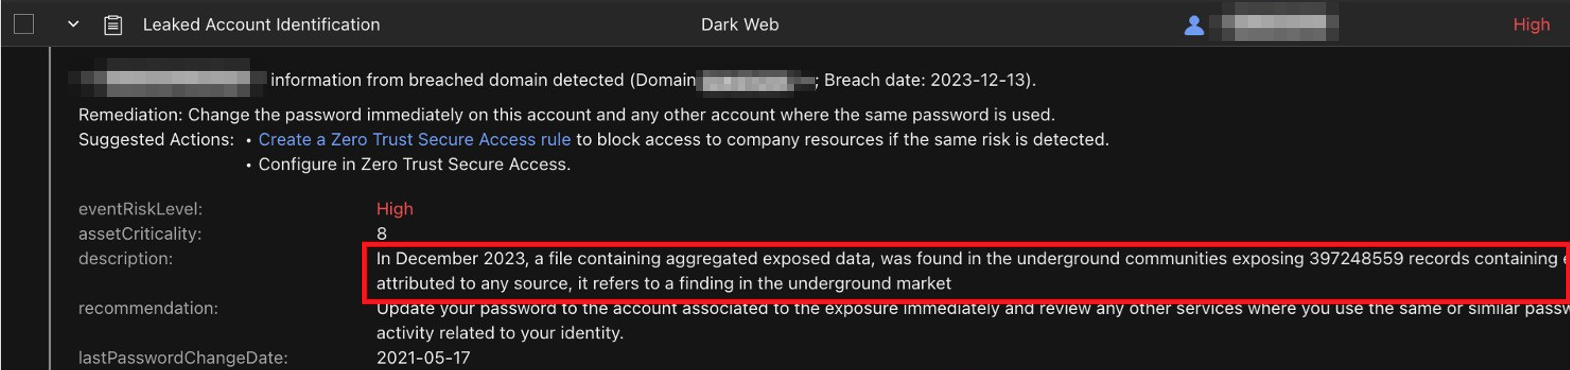
於下方 Account Compromise Indicators 找到通報中對應的事件

展開可檢視詳細資訊,趨勢科技於暗網監控資料中發現該帳號的資訊
應更新該帳號的密碼並檢查是否有使用相同或類似密碼的帳號
點擊使用者帳號右側的 可以選擇強制重設密碼
Secure Access Rules 自動化回應
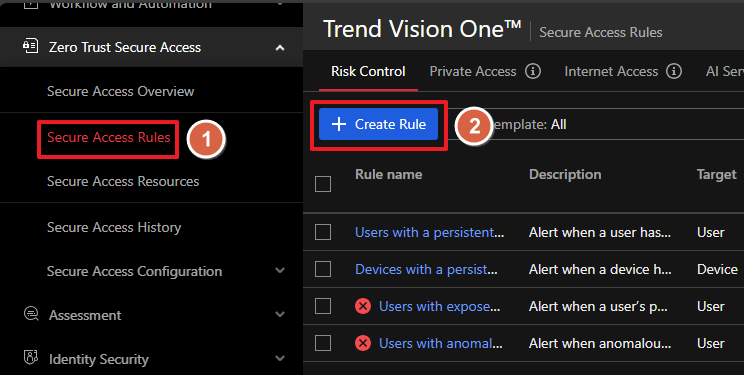
在 Zero Trust Secure Access > Secure Access Rules 可以設定 Risk
Control
範例一、發生 Unlikely Travel 監控使用者所有行為
點擊 Create Rule
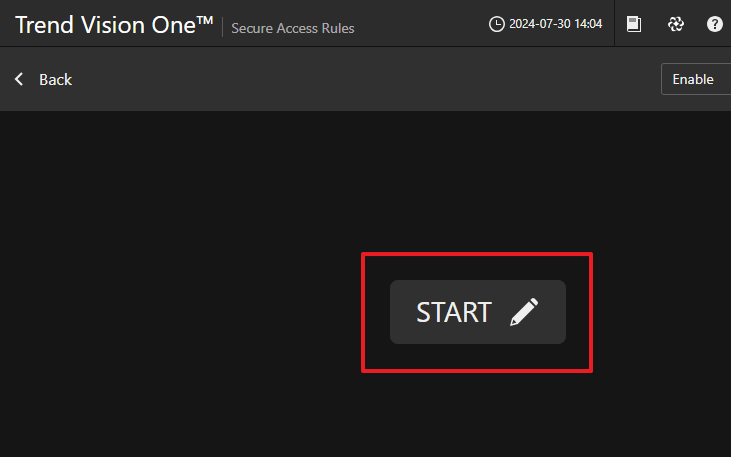
點擊 START

輸入名稱以及描述後點擊 Next

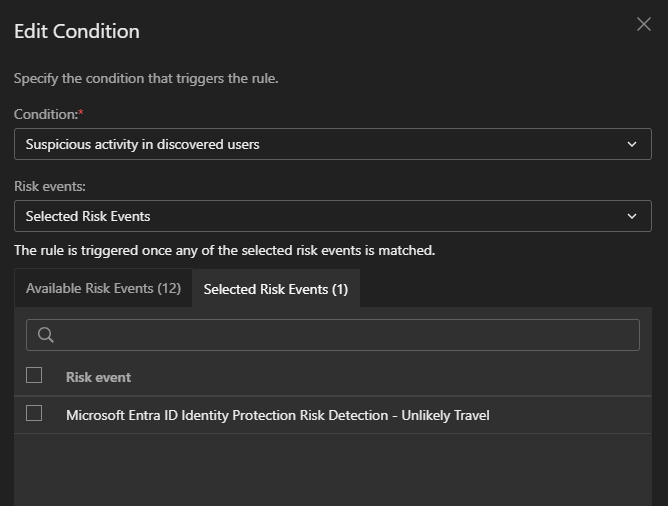
點擊

Condition 選擇 Suspicious activity in discovered users
Risk events 選擇 Selected Risk Events
找到 Microsoft Entra ID Identity Protection Risk Detection - Unlikely Travel
將它移動到 Selected Risk Events 後點擊 Next
繼續點擊後面的

選擇監控的時間後點擊 Next

繼續點擊後面的

選擇監控的使用者或是群組後點擊 Next

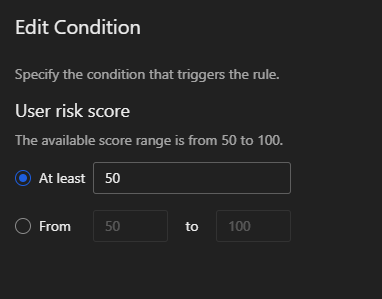
IF 後面的
可以設定達到多少風險分數後才觸發

也可以設定為一個範圍
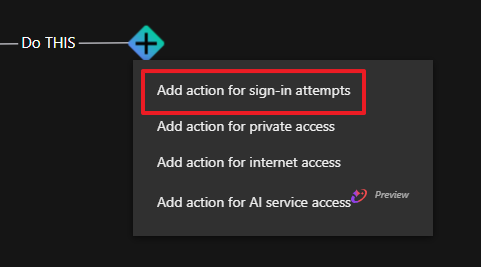
Do THIS 後面的
可以設定採取什麼行動
選擇 Add action for sign-in attempts
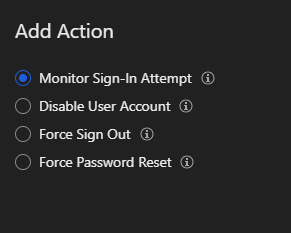
在 Add Action 選擇 Monitor Sign-In Attempt 後點擊 Next
Note
將滑鼠游標移動到 可以顯示各個行動的詳細資訊
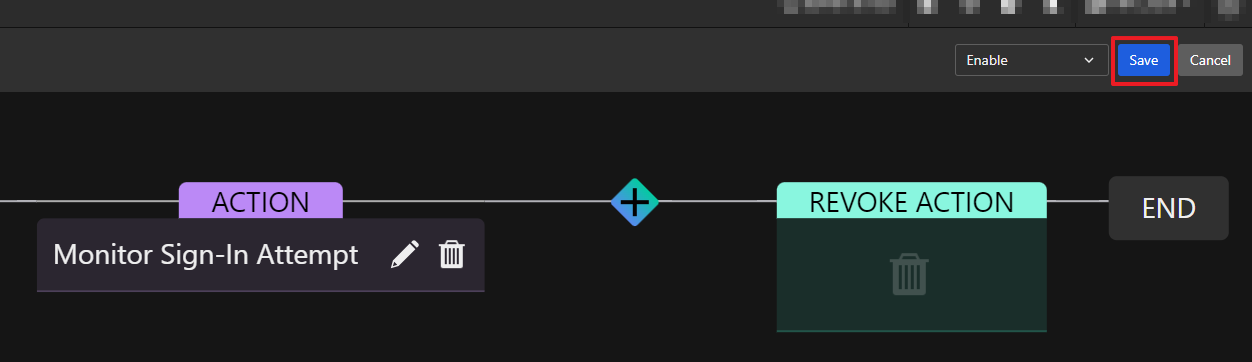
將狀態切換到 Enable 後點擊 Save
範例二、發生 Leaked accounts 強制重設密碼
點擊 Create Rule

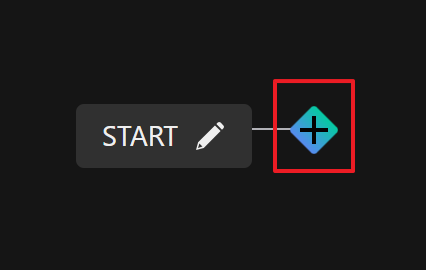
點擊 START
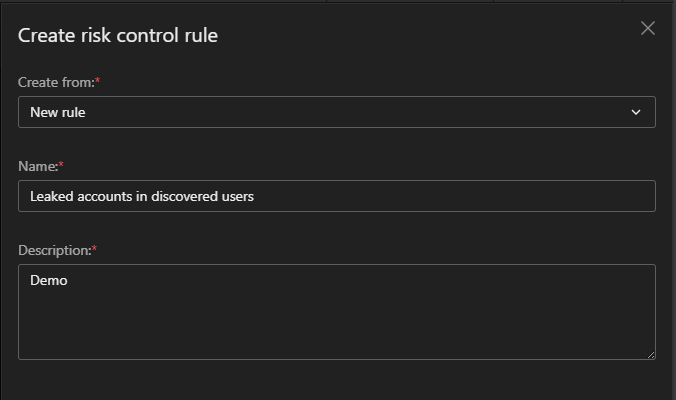
輸入名稱以及描述後點擊 Next
點擊
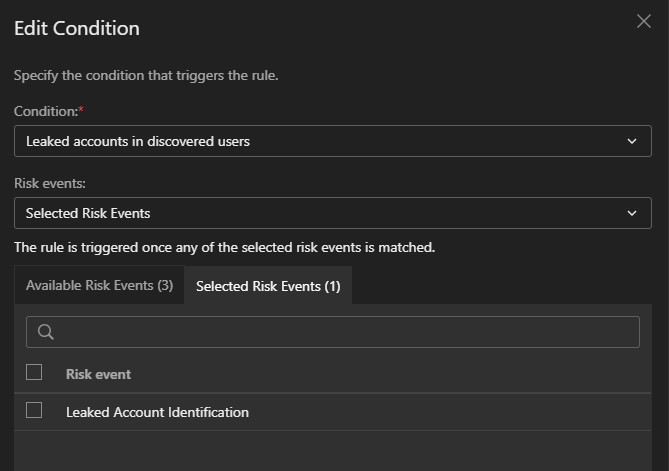
Condition 選擇 Leaked accounts in discovered users
Risk events 選擇 Selected Risk Events
找到 Leaked Account Identification
將它移動到 Selected Risk Events 後點擊 Next
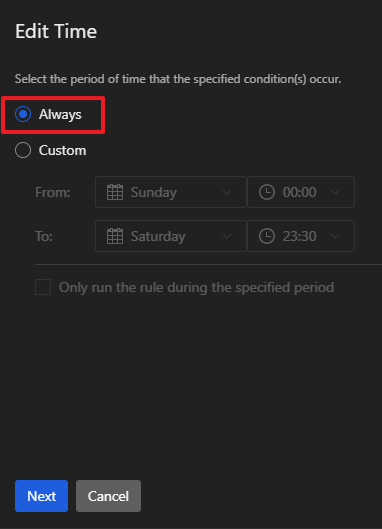
繼續點擊後面的

選擇監控的時間後點擊 Next
繼續點擊後面的
選擇監控的使用者或是群組後點擊 Next
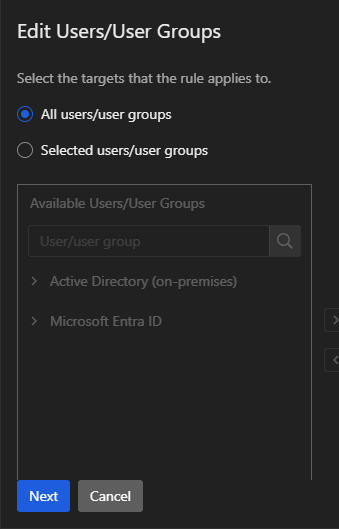
IF 後面的
可以設定達到多少風險分數後才觸發

也可以設定為一個範圍

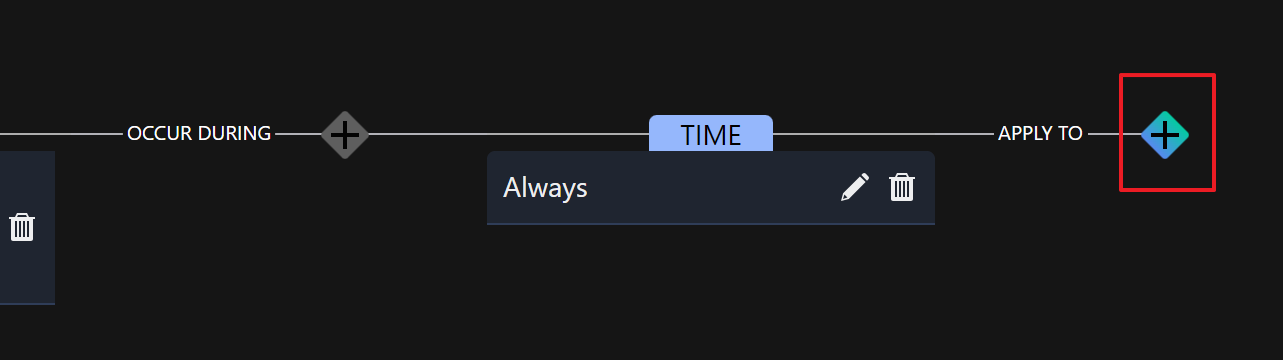
Do THIS 後面的
可以設定採取什麼行動
選擇 Add action for sign-in attempts

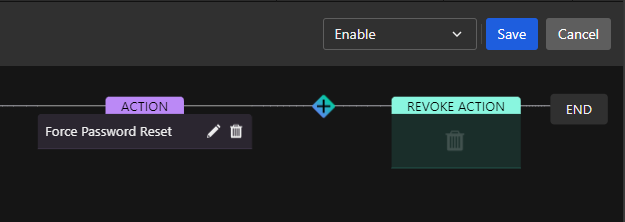
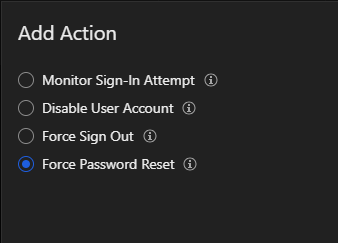
在 Add Action 選擇 Force Password Reset 後點擊 Next
Note
將滑鼠游標移動到 可以顯示各個行動的詳細資訊
將狀態切換到 Enable 後點擊 Save